How Long It Takes to Repair a Roof Leak

Even the most minor leaks can damage your house. Taking too long before repairing a leaking roof leads to mold growth which is hazardous to your health. This leaves you with the question “how long does it take to repair a roof leak.” Though you can’t get a direct answer, an average home can take 1-3 days to repair a leaking roof.
Does your roof leak any time it rains? Or do you want to spot roof leaks before the rainy season arrives? If yes, you can visit this website for professional roofing services. In this guide on how long it takes to repair a roof leak, we will give you all the details you require to fix this common problem all homeowners face.
That said, let’s get started!.
How to find a Leaking Roof
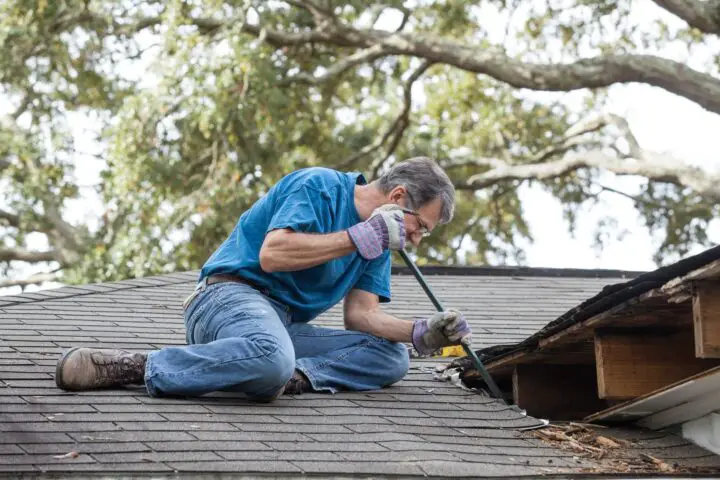
Start by looking at the rooftop from the stains when trying to track down a leak. Items penetrating the roof are the most typical source of leaks, so start by checking any roof penetration.
Some roof penetrations may include chimneys, plumbing and roof vents, dormers, or anything else that passes through the roof. If you can access the attic, the simplest way to identify the leak is by going up there with a torch and look for evidence.
How to Find a Difficult Leak

If it proves hard to find the leaking point, it is time to create a mock rain. Find a helper to stay inside the house close to the leaking spot. Move to the rooftop and use a hosepipe to soak the roof one section at a time. Tell your helper to yell once he sees a drop.
Alternatively, you can go tech and use drones to detect the leaking point. You can take videos and photos at any angle and find the leaky area without climbing on your roof.
How to Repair a Leaking Roof

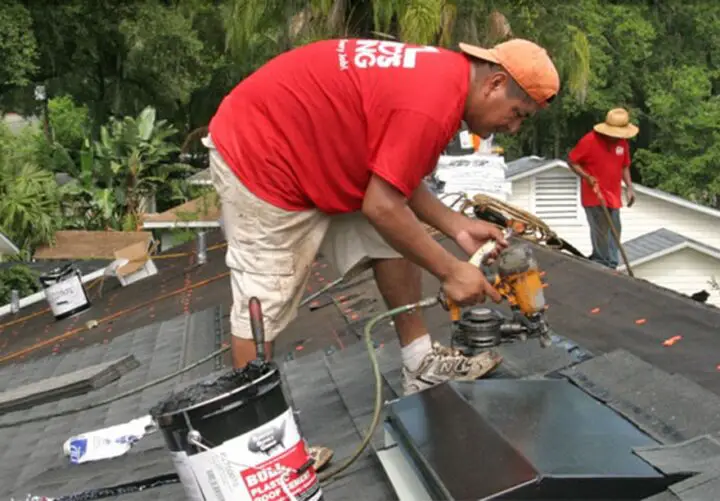
Repairing a roof leak can take as little as thirty minutes. Also, you can quickly fix minor leakage issues without hiring a helper. After tracking down the leakage, replace damaged shingles, patch the tears, or seal any joint gap.
Here are other ways to fix your leaking roof.
1. Check and Fix the Roof Vents
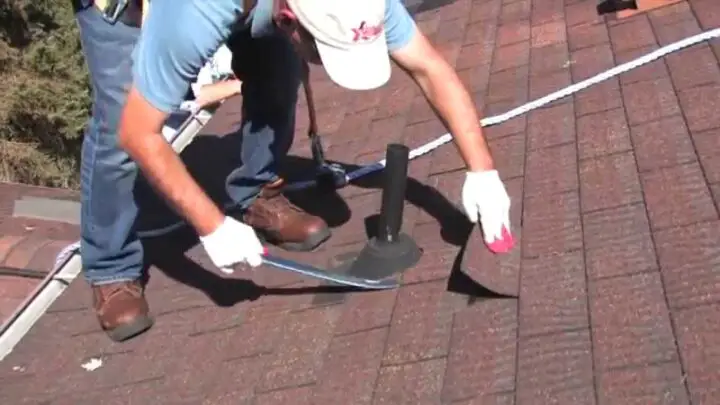
Check the condition of the vents if you find them as the source of the leakage. For example, sometimes vents become dislocated due to dislodged nails. Remove the damaged vents by first pulling out nails holding the shingles to the vent using a pry bar.
Apply a thick drop of roofing cement or external sealant to the bottom of the vent flashing. Your helper should roll back and separate the shingles gently as you slide in the vent.
The vent flashing’s lower section should ride over the shingles to inhibit leakage. Use nails to hold the vents around all corners and every four inches and finish by covering the nails with sealant or cement.
2. Replace Missing or Damaged Shingles
Replacing rotten, missing, or cracked shingles is the best and simple way to fix a leaking roof. Use a pry bar to carefully remove nails around a damaged shingle by lifting the edges of the nearby shingles. Shingles slide out after removing the nails.
A utility knife becomes essential to round the back corners in your attempt to replace a new shingle. It makes it easier to slide the shingle under the one above and align it with those on adjacent sides.
Use galvanized roofing nails to fasten the top of the overlapping shingles and secure each corner with nails. Lastly, use roof cement to cover the nail head and flatten the intersecting shingle edges.
3. Fix The Flashing
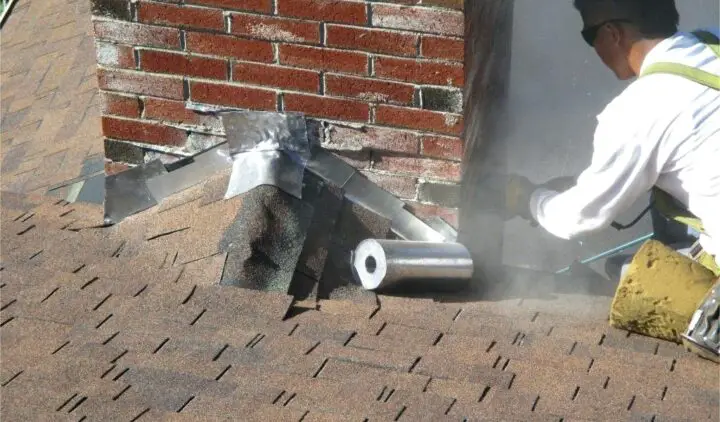
Use a caulk gun filled with cement to repair leaks caused by metal flashing around the dormers and chimneys. If you find a damaged joint previously sealed with a cement line, use a putty knife to apply a fresh coat.
What are the Safety Considerations When Repairing a Leaking Roof?
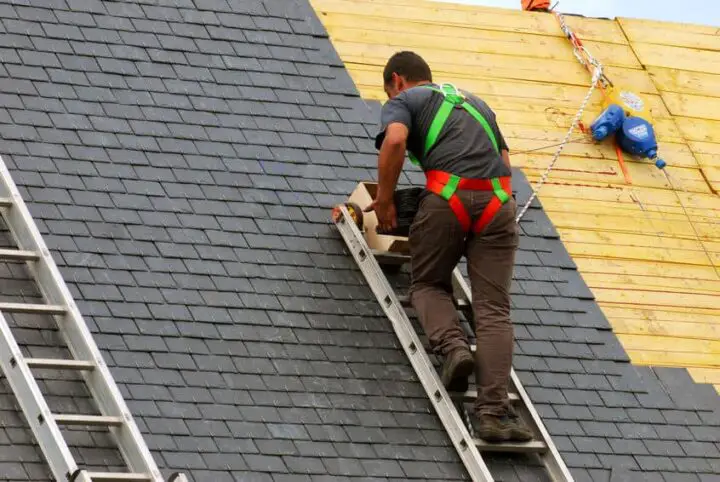
Fitting a leaking roof is potentially dangerous. But repairing your roof can be a safe project with the appropriate work practices. Always work with a helper and never work on a wet roof to avoid falling.
Use the best tools to repair your leaking roof and protective gear such as gloves, nose masks, and eye and hearing protection.
Some of the working devices include the following.
- Caulking gun
- Chalk line
- Circular saw
- Flashlight
- Flat pry bar
- Hammer
- Hook blade shingle cutter
- Ladder
- Pencil
- Tape measure
- Utility knife
Material to Use When Repairing a Leaking Roof
Here are the materials you need when repairing your leaking roof.
- 7/16-inch exterior-grade plywood or OSB board
- 8d common nails
- Roof vent (if changing a fault vent)
- Roofing cement or exterior sealant
- Roofing nails
- Roofing paper or synthetic underlayment
- Three-tab composite shingles
Your Roof Is Leaking, What Next?

If you find your roof is leaking, there are various ways to manage the situation and reduce any potential damage from water. Here are different steps to follow.
a) Move Things Out of the Way
The ugly thing you would wish for is damages to your stuff when your roof is leaking. If there is a leak over the clothing line, furniture, or bed, it is time to clear the area. Water damage can destroy your precious items. So, whatever you can push, do it hastily.
b) Contain the Water
Try as much as you can to harvest the water from a leaking roof. Use buckets, towels, or anything you can find to arrest water and minimize the damage that water can cause.
c) Call a Professional Roofing Company
A leaking roof is a considerable undertaking. So, it’s ideal to call an expert. However, waiting longer gets the situation worse since there is little you can do to manage it.
Final Words
It is a huge problem to have a leaking roof over your head. However, you don’t need to panic. You can do much by yourself if you have the necessary tools and experience to get the job done. But if you lack confidence, you should leave the work to experts if the work involves a lot of climbing and hauling.
