What is the Difference Between the Iron-on Vinyl and Heat Transfer Vinyl
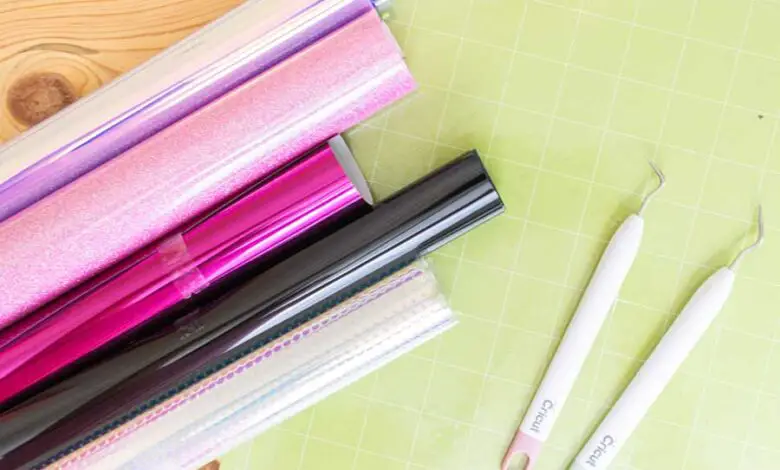
If you enjoy arts and crafts, you probably follow numerous accounts on social media platforms. People use their imagination and simple tools to create the most intricate designs to decorate and personalize everything from clothes to all sorts of items. Basically, the sky is the limit when it comes to these.
If you are thinking about adopting this hobby and maybe even turning it into a small business, you need to learn everything about the tools, materials, techniques to use, and so on. In this article, we will introduce you to these two types and vinyl, tell you about their properties, how to apply them, and discusses the difference between them.
Is there are a difference between the iron-on and heat transfer vinyl?
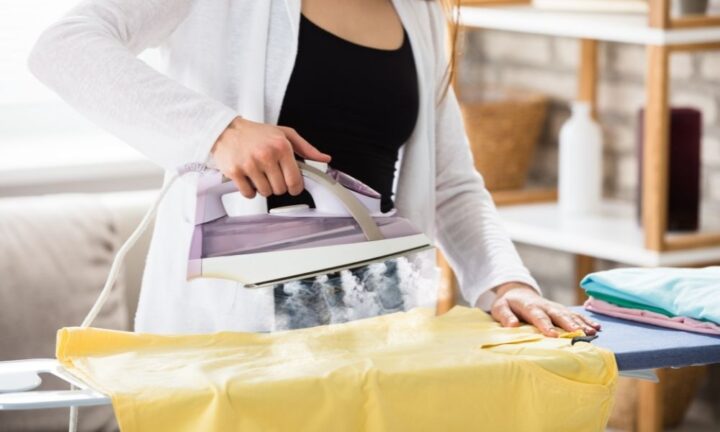
This is the most common question people have, and the answer may be a bit confusing. Why? Well, because they often mistake iron-on vinyl for iron-on paper. Both of these require a heat source to stick to the material, but basically, iron-on vinyl is just another name for HTV. The truth is that this type of vinyl is also called an iron-on because you can transfer it with a household appliance you surely have. However, if you purchase a high-quality HTV, you can also use a heat press to transfer the design. If you want to put in order for iron-on vinyl, visit the HTVRONT website to explore their offer. In addition, if you are looking for inspiration, HTVRONT may be the best source.
One of the main differences between HTV and iron-on transfers is that when you use the former, the entire design will adhere to the material. On the other hand, the latter will only transfer the ink. Depending on what you are trying to make, iron-on may be a better choice because it is essentially a paper that you can cut according to your requirements and make the transfer easier. However, keep in mind that if you want to have a bigger picture, HTV is the better option. Since the iron-on uses ink, it is better for intricate designs, but if you’re going to decorate items that you don’t use or maintain regularly, the ink will quickly fade.
How to use HTV?
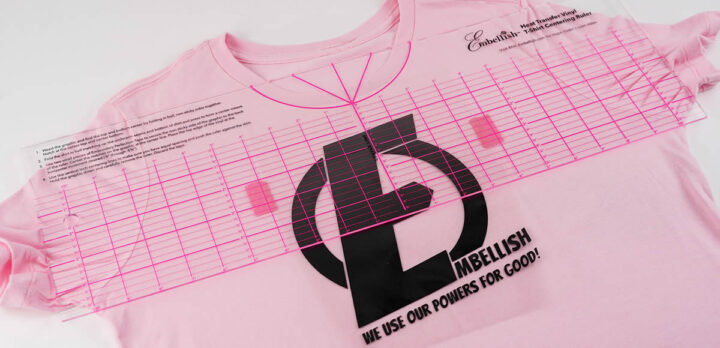
First things first, there is a list of things you will need. Naturally, we are starting with a t-shirt or another item you want to decorate. Then, you will need a weeding pen, scissors, cutting mat, cutting machine, iron or heat press, parchment paper, and a folding board or similar surface you can use.
Prepare the design
First, you need to prepare the cut file, that is, the design you want to use. One of the most important things you need to consider is its size since it needs to fit perfectly. You can use the simple ruler for this task and adjust the design if you already have one, or create it according to this requirement. When it comes to the sketch of the cut file, you can use any number of online software. Find that you feel most comfortable with, and that can provide you with some cool features. Once you do this, do not forget to mirror the picture. Why? One side of the HTV is a clear plastic that covers the design, and the other one is where the adhesive is. When you cut it, you will go with the adhesive side, and the plastic will keep the sketch intact. Obviously, when you apply it to the fabric, you will have to flip it.
Use the cutting machine
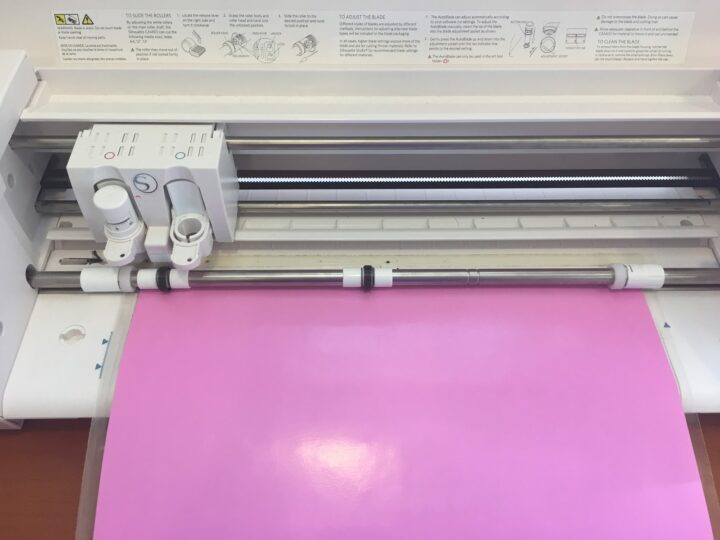
The first thing you need is to place the HTV on the mat, and don’t forget to ensure that the side covered with plastic goes down. Depending on the machine you have, you will probably have to adjust the settings. If you have never used it before or are working with new material, you should test it beforehand and figure out the settings you need. All that is left is to feed the mat into the machine and start the process.
Weed out the vinyl
Furthermore, the next thing you need to do is remove the excess vinyl from your design or “weed it out.” This is when you use the weeding pen we mentioned. This part may be a bit tricky since it can be difficult to see the lines of the sketch. You can use a bright pad to facilitate this task or place it against the window or any other source of light. Yes, you also need to be very patient when going over these lines. You also need to be careful when removing the material to make sure you don’t cause any damage to it.
Iron it
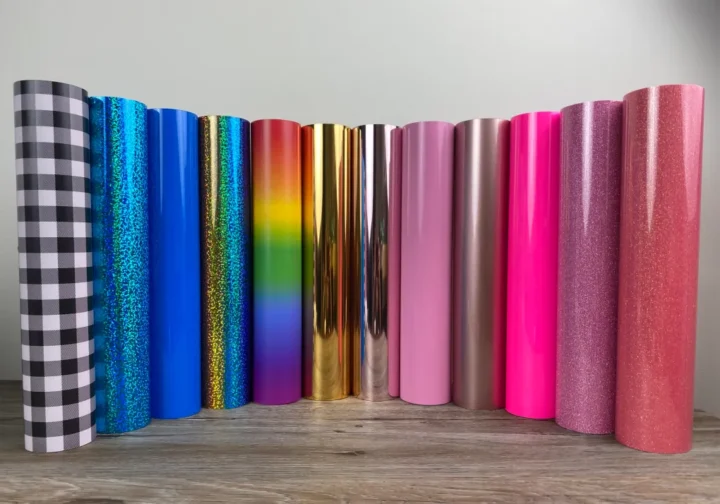
Finally, it is time for the last step of your project. This is when you need to use a heat press or iron. If you have never done this before, you probably don’t own the former since it can be costly, but luckily, a household appliance will work just fine as long as you apply enough pressure. Because of the last requirement, you need to use a sturdy surface, so if you don’t think the folding board is the right choice, you can iron it on a table.
Plug in the appliance, wait for it to heat, and place the design where you want it on the fabric. Another question people have is regarding the perfect temperature. You should use the cotton setting on the iron, but since the temperature can differ, you should test it out beforehand to find the right one. In addition, do not forget to use parchment paper since the heat can be quite high, it will protect not only the vinyl but also the surface of the appliance.
Lastly, all that is left to do is apply the pressure and transfer HTV to the fabric. Depending on the type of HTV, the time intervals required may differ, which is why you should check it every few seconds. If you use too much heat, you may melt the material. When you complete this step, remove the plastic from the HTV, and that’s it.
