How to Build a Neopixel Lightsaber?

If there is one thing that we all can agree on it’s the fact that a lightsaber is the coolest thing you can own at any time in your life.
Movie memorabilia, trinkets, replicas and all other fan-based stuff has become a cult thing. When it comes to movies like Star Wars or Star Trek there are numerous things that fans choose when doing costumes for Halloween and numerous conventions. What is more important to say is that all those things a fan loves, owns and displays with pride is not only tied to costume parties of any sort, it has become a status symbol among their peers and those who have the rarest and most beloved items from the movies or the movie community are probably the kings of all fans.

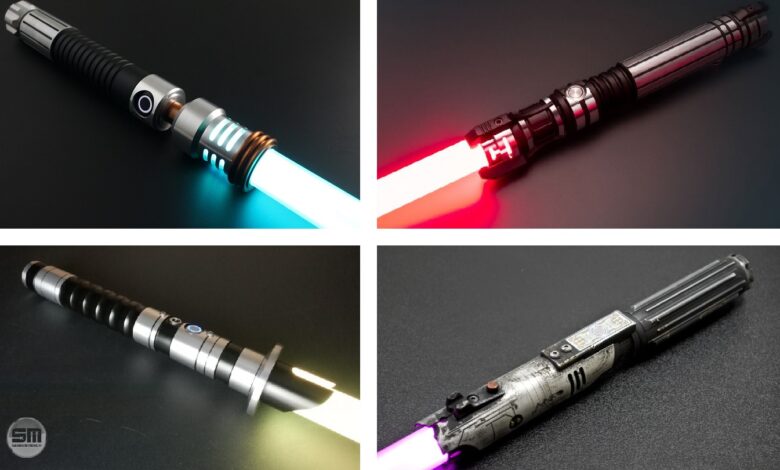
For years’ now the lightsaber is the thing when it comes to movie memorabilia, collectables, replicas collection or as of recently a DIY project that allows for anyone to have a replica of this thing hanging on their bedroom wall. Now as you could see from the title of this article today we are going to dab a bit into this DIY trend and explain to you just how you can be an owner of this neopixel lightsaber. All you need is a bit of DIY know-how, some basic tools and a bit of imagination and you are all set. For those lacking any of these but have a wish and some spare cash try Zia Sabers and see if there is something there, you like in particular.
1. Materials
Materials are easy to find and they are not that expensive if you are willing to shop a bit. What you will need is a shell that is a clear polycarbonate tube that has a thick enough wall. Some recommend an eight of an inch thickness but you can decide for yourself. Don’t go too thin if you are going to wield it for fun if you want to avoid breaking it in half. As far as the length is concerned you can see whatever it feels comfortable for you but try and get around 30 to the 34-inch-long blade. You will lose around an inch when you install the hill of the blade. You also need a one-inch polycarbonate cap that will be used to seal the top of the blade, five-volt pixel LEDs that are at least double the length of the sabre, parchment paper, cellophane wrap, foam packing material, hot glue gun, sandpaper and clear epoxy to tie everything up. Everything is pretty easy to find either online or in your local shops so you shouldn’t have to have much trouble there.
2. The light preparation

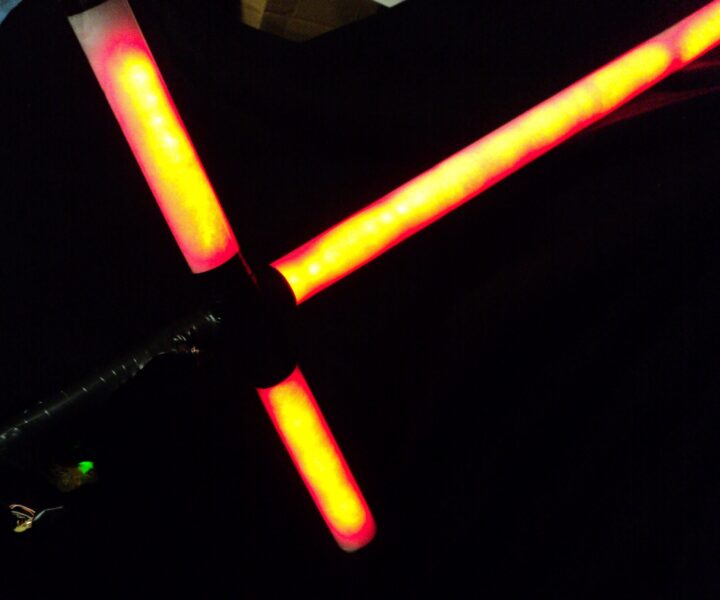
Now, remember when we said that you would need a light strip that is at least double the size of your sabre?! Well, the reason for that is you need to half the strip of lights and glue the back sides of the lights together. This way you will ensure a steady stream of light on both sides of your sabre, not just one. Therefore, if you don’t know where to get your strip light, visit here. This is why you are folding the LEDs. To diffuse the light evenly, you are going to need that parchment paper and foam wrap that has the job of holding everything tight and prevent LEDs from rattling around. The more layers of the parchment paper you use the more disperse the light you get but keep in mind that this also dims the light coming from the LEDs. All that is left to do is tightly wrap the LEDs into the parchment paper and the foam wrap. The last layer should be the cellophane wrap that should reflect some of the light into the blade and it should help with the insert into the tube since it is slippery by itself. Layer everything as much as you can to fit it nicely into the tube, and test it all out before you insert and close the sabre.
3. The blade finish-up
When you have the light source all prepared and fit into the blade you have two things left to do. The first one is to seal the top of the blade and that is easy. Either cut off or push in anything that might be sticking n top of the blade and seal it with that clear epoxy and the top cap. A pro tip here is not to use too much epoxy because it will ruin the light diffusion on top. Small amounts evenly distributed all around and you should be OK. The next thing is optional and depends on your preference. You could either sand the tube or leave it as is. We recommend sanding because it nicely distributes the light inside and if you made a mistake in the previous step it will be hard to see on that sanded tube. If you leave it clear it will shine a bit stronger but any scratch, mistake or imperfection will be easily visible. So it is up to you and we leave it to your decision.
4. Final part

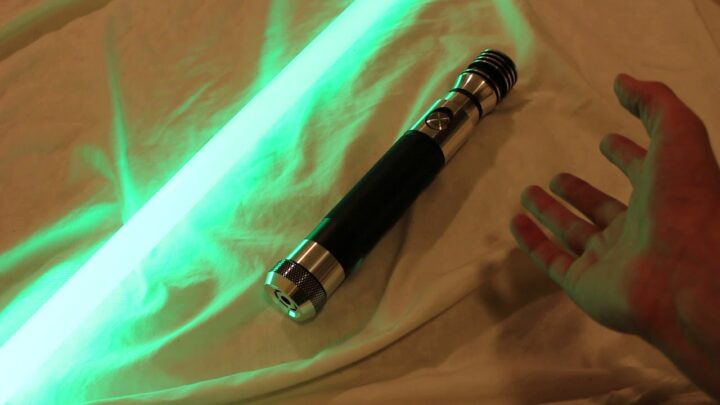
The last thing to do is to fit the sabre into the hill of the blade. Now for the hill part, it is a bit difficult to tell you if you should try to DIY this yourself as well or if you should try and order one done. There are some materials, equipment and know-how needed if you are going to do this by yourself and if you got all that then by all means go for it. There are several materials you can opt for from wood, aluminium to plastic. Whatever you feel comfortable with is at your disposal. If you have limited resources and limited equipment we also suggest trying a 3D printed hill that is also a great thing, easy to do if you know your way around a 3D printer and design making software. All in all, you have a lot of options when it comes to this part so give it a go at whatever you feel is best suited for your abilities and possibilities.
