How to Use a Manual Pipe Threader – 2024 Guide
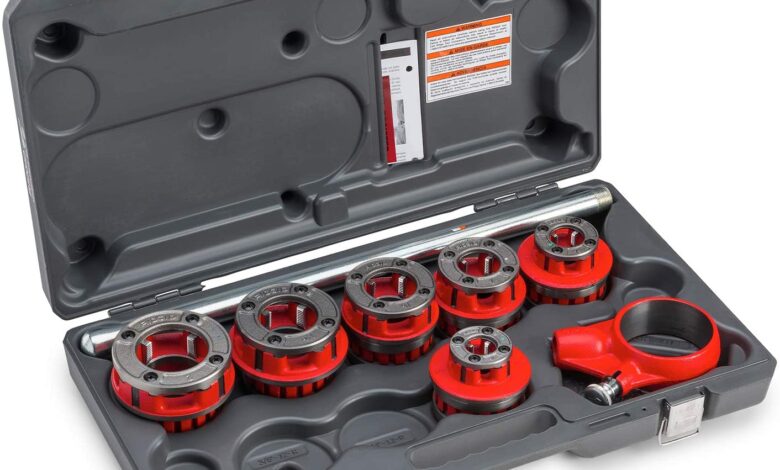
It is said that every person should have basic knowledge of plumbing. This will help you finish some tasks in your home on your own, and you will be able to fix basic things before the professionals arrive. When you are a homeowner, you need to be prepared to learn some new skills, as you will realize that in some cases you need to act fast. The more things you know, the easier it will be to get things done around the house, and who knows, maybe you will even be able to save up some cash on professional services. A pipe threaded is a device that will help you cut the grooves and threads that are located at the end of the metal pipe. These units are really similar to screws, and they have a really basic function. No matter what you do, it needs to be fastened safely, and these are the units that will help you do that.
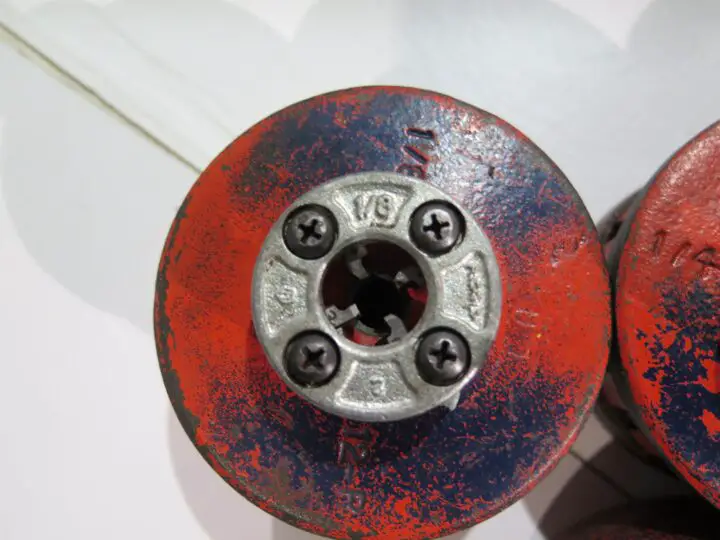
The grooves are used to connect the piping to the connector and with them, the whole project will be done correctly, in an easier manner, and nothing will be leaking. However, you need to be aware of how to use the manual pipe threader, and what you need to do in your home. In this 2024 guide, we are going to give you more information about the whole process, and the things you need to pay attention to if you don’t want to risk making an even bigger mess. Continue reading, and make sure you remember these things now, so if the time comes, you will be prepared to fix your plumbing and fasten the pipes without risking any additional damage or leakages.
Why use the threaders?
This is the first question many people ask since there are already precut pipes that you can find in almost every hardware store. The main reason for this is that when you decide to go shopping, you can only find a number of different lengths. If you can easily find a pipe that is the right length, then it’s great, you can skip this step, however, if you cannot find the unit with the right size, you will need to have these skills. At the end of the day, you won’t lose anything by learning how to thread the tube, plus you will be able to help your friends if needed.
Now we are going to talk about the process itself and know that this process is used for both new and old plumbing. If you are using an old tube, you may need to cut the damaged ends off. And if you are using a new one, you will need to purchase or borrow the manual pipe threader.
How to do it?
The first thing you need to do is secure the tube in the vise. You should never apply too little or too much pressure. If you press it too hard, you risk damaging the tube, and if you don’t fasten it correctly, you risk it getting loose and falling down. This could lead to injuries, and you should always pay attention to your safety. The end of the tube should be sticking out so that you have enough room to work on it.
Next, you need to use protective equipment, including safety glasses and gloves. They will make sure you are safe from anything flying around, and you don’t risk any accidental cuts. For your third step, you need to cut the tube to the desired length. Try to make as clean-cut as possible, using the right tools. Note that even if you cut a little bit higher than wanted, you will be able to buff it to the desired length after. Since there are a lot of different machines that can help you do the job perfectly, you need to find the right one for you. On this website, you can see some of the options you have, and check how they are different from one another.
Once you are done cutting the tube, you should use a reamer to remove any excess material and to make sure that the unit is ready for the next step. Take your time with this step, and make sure everything is done correctly.
Depending on the size and the diameter of the tubing, you will need to choose the right size of the die head. Usually, there are numbers on these units, and if you need help choosing the correct one, you can always ask for help from the sellers in the hardware store. It needs to fit perfectly, so there are no leakages later on. Know that if you purchase a pipe threader, you will get die heads with different sizes and diameters, so you won’t have to worry about choosing these units on your own.
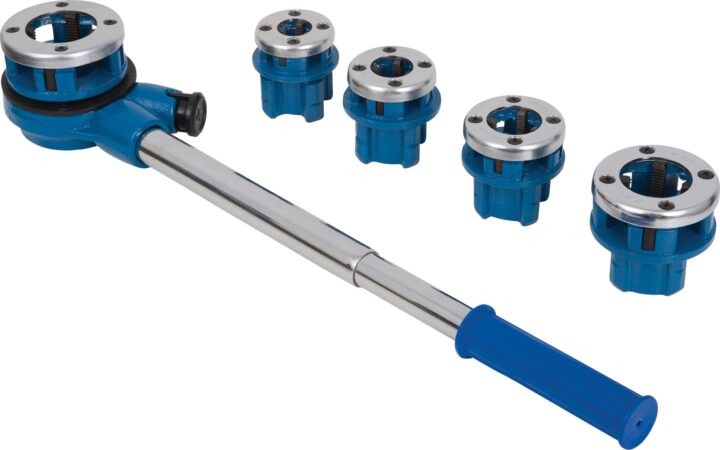
Put the die head to the ratcheting pipe threader handle and make sure the tube is lubricated so the whole process goes faster and easier. This way the threader will be able to make the cuts faster and more efficiently. The die head should be then placed at the end of the piping. Next, you should ratchet the handle, and you should apply some pressure to the die head. When you do this, the cutting process will start. If you are feeling the pressure, it means you are doing it in the correct manner. In case nothing happens, and the whole process goes too easily, it means that you need to apply more pressure to the die head.
Continue this process until the die head is on the same level as the end of the piping. Remove the threader and you are done.
Note that you should never use any additional cheater tubes at the end of the handle because that way you are more likely to slip and get injured. Pay attention to the lubricating oil you are using, and always wear safety equipment. Know that when you use additional weight, not just your muscles, it is going to be easier for you to get everything done.
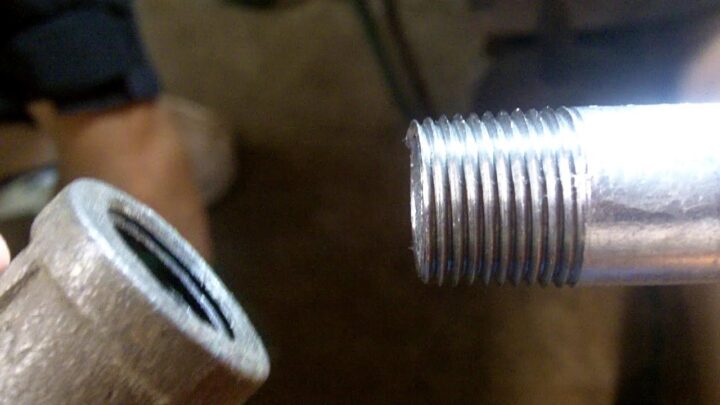
Now you know how to thread a pipe, and you can use this skill to get things done faster in your home. In case you are not sure how things are done, you can always consult a professional, or purchase an already threaded tubing.
