How to Set Up a Trezor One Hardware Wallet?

Entering the cryptocurrency market comes with a high number of aspects that require your attention. Nobody can expect just to enter it and have reaped all the benefits before doing some education before that. At the same time, we need to say that educating in this aspect is not an easy thing to do.
Even the most experienced traders have some doubts about how the market works, and they constantly need to upgrade their knowledge to be as successful as possible. One of the things that you will encounter immediately after you enter the market is the question of e-wallets, and how to choose the proper one.
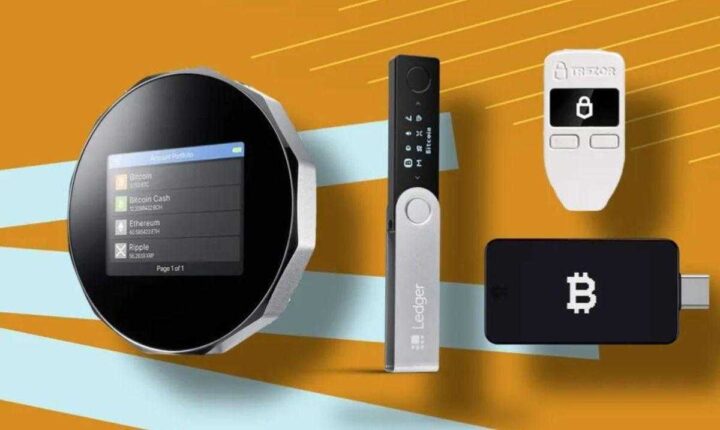
One of the options you will have in front of you is hardware wallets. We are talking about simpler versions of the software, which are preferred by most beginners. They don’t have to think about too many options, which minimizes the potential for making a mistake. One of the most popular ones out there is Trezor One.
The Concept of Hardware Wallet

Before we go deeper into the topic, we want to shine a light on the concept of a hardware wallet. Hardware wallets, or how they are usually known as, cold wallets, do not have an internet connection. All the things you can do with them can be done in an offline environment, which ensures the safety of the assets.
These wallets can generate and store recovery phrases and private keys within the device, in most cases the flash memory. When you connect the device to the laptop or a PC, the transaction itself will be signed offline, once again, without ever your device getting in touch with the internet.
That information is then shared with the device, which later, broadcasts the information. By avoiding going online in these situations, you’re adding a layer of protection to your assets, which is an absolute must in this day and age, especially after the number of cyberattacks has increased in the last couple of years.
Naturally, there are different sorts of wallets, and you will need to compare a couple of them before you can find the right ones. If you want to find a more detailed Trezor Model T vs Trezor One comparison, check this blog.
How to Set Up a Trezor?

Before you can use Trezor and all the features it can offer you properly, you should understand how to set it up properly. Thankfully, this is an easy process, and you will not need more than a couple of minutes before you can set up all the functions to work toward your advantage.
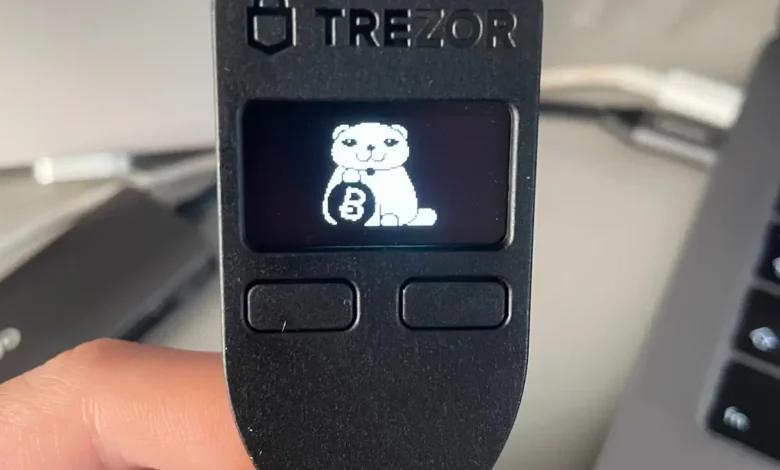
The first thing you should do is connect Trezor to your laptop via a USB cable. After you do that, the lock icon will appear on the screen. You should click on it, and then visit trezor.io/start. Of course, if you haven’t used this one before on a device, you will need to install it from scratch.
You will have two choices placed in front of you. We are talking about the Trezor Chrome Extension or Trezor Bridge. Naturally, your choice, in this case, will depend solely on your own needs and preferences. Naturally, you would need to understand your preferences before you can make the best decision.
After the installation is complete, then you should proceed to create the PIN code for your wallet. On the screen, you will see a 3×3 grid, where you will need to insert numbers instead of dots. Finally, the software will provide you with a recovery seed, which you will be able to use to access in the future.
Compatible Wallets
Since the Trezor ecosystem is open source, then you will be able to connect any other e-wallets with it pretty easily. Of course, you should be aware of the fact that the integration with different wallets will vary depending on the one you have chosen. Also, different ones come with a different string of features.
You should have all of these in mind before you can make the best possible decision regarding integration with other wallets. We would advise you to communicate with experienced traders and see what their experiences about these are. That way, you can make sure that the decision will reflect your needs and preferences.
The list of wallets will differ based on the type of Trezor you have. if you are sticking with the one we have pointed out in this article, then we recommend you use simpler ones, to avoid any confusion which can lead you to make mistakes that could be pretty costly down the road.
One of the first examples that come to our mind is Electrum. We are talking about a wallet that pretty much offers you only a handful of options, which minimizes the chances of mistakes. Naturally, there are many more options for you to choose from out there.
Other Trezor Models

When it comes to different versions of Trezor, there are two of them that are the most prevalent in this day and age. The first one is the main subject of this article of ours, the Trezor One, and the second is Trezor Model T. The first one was launched a couple of years after Bitcoin’s introduction to the public.
The wallet case is made of plastic, which serves as a layer of protection when it comes down to physical damage. From numerous reviews out there, you can see that ABS plastic used to make the casket can also sustain a variety of chemical corrosion as well. As you can see, your assets will be protected even from physical damage, not just digital.
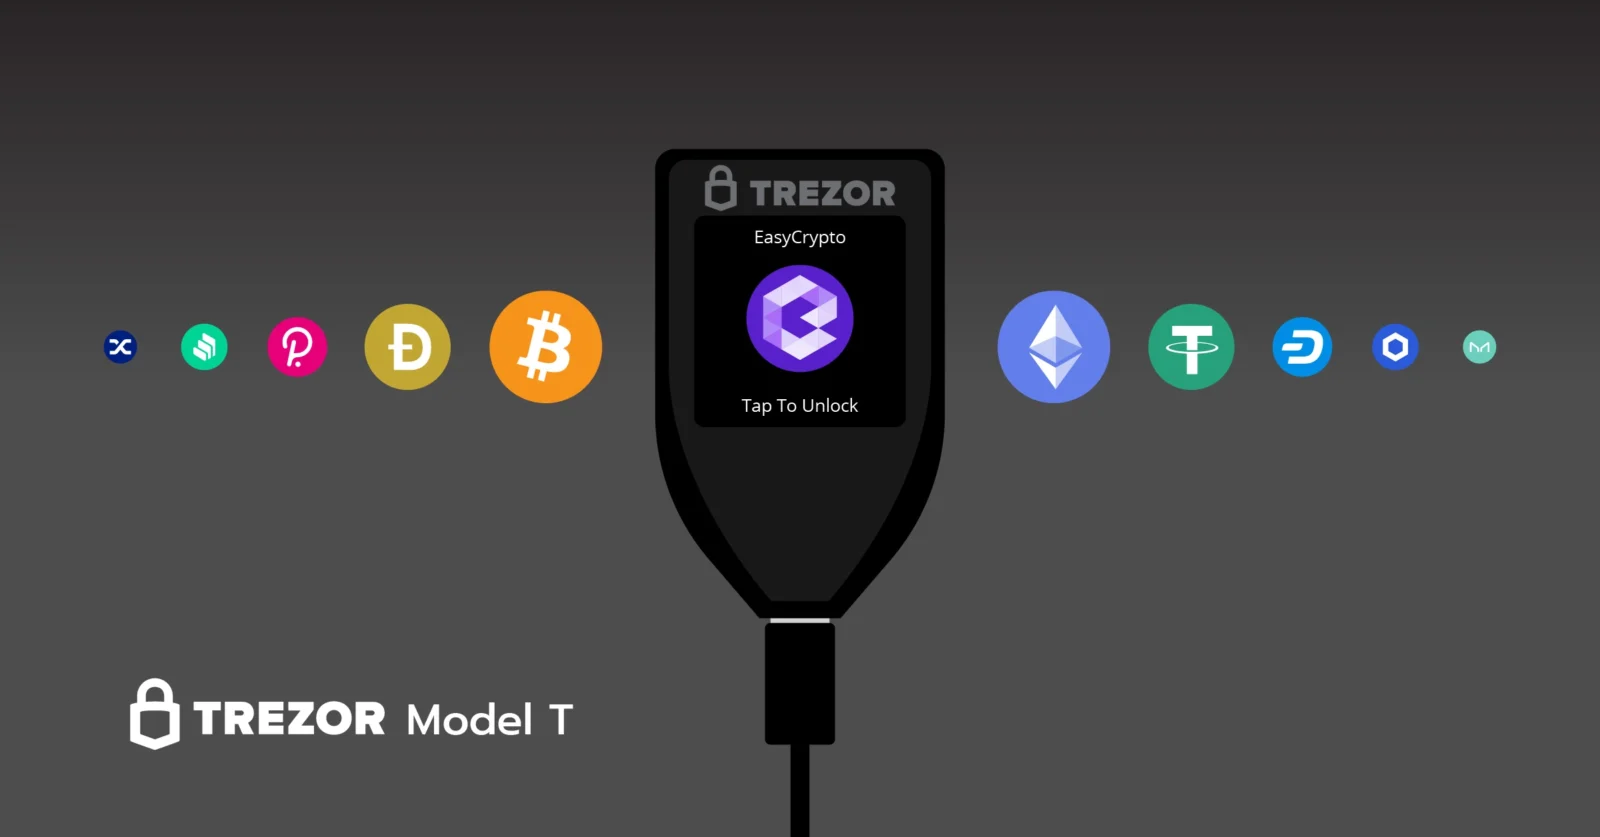
Trezor Model T is a newer version of this device, therefore, it has powerful hardware and a modern user interface. Besides the storage that comes with the device itself, you will have the option to include an SD card in a slot you can find on the rear side of the device.
In Conclusion
Using a hardware wallet doesn’t have to be as complex as it may seem at first. Here, you can find a detailed guide on how to use Trezor One, and all the other relevant details you need to know about this one.
